
Founded in 1983, IMSI is a leader in feature-rich, yet affordable, general-purpose CAD (Computer Aided Design) and home design desktop software, and a pioneer in mobile solutions for the AEC (Architectural, Engineering, and Construction) industry.
IMSI Design is a maker of CAD (Computer-Aided Design) and home design software for Windows and Mac, as well as mobile solutions for the AEC (Architectural, Engineering, and Construction) industry.
The Arc Slot Polygon Tool allows you to create precise arc-shaped slots for adjustable mounting brackets, curved hinge mechanisms, ventilation louvers, and decorative grill patterns. This feature makes it easy to design both functional and decorative elements that require smooth, curved slots.

Arc Slot Polygon Tool workspace
The tool is located in the Polygon Tool Palette, as the last tool icon on the right. With just a click, you can begin creating arc slots directly in the design workspace.

Polygon Tool Palette location
To create an arc slot, simply set a start point, an end point, a point on the middle of the arc, and then define the width of the arc. The slot is drawn automatically, giving you a clean and accurate curved shape.

Creating an Arc Slot
Once created, the slot can be further adjusted. By using the Edit tool, you can see and move the points that define the slot into new positions. This makes it easy to refine your design without starting over.

Editing the Arc Slot Polygon
You can also adjust the slot numerically using the Data Entry window. Here, the width and arc angle can be modified precisely. For example, you might change the arc angle to 150 degrees, instantly changing the shape of your slot.

Adjusting parameters using Data Entry window
Whether you're designing for mechanical precision or visual impact, the Arc Slot Polygon Tool gives you the control and flexibility to bring your ideas to life. With intuitive controls and powerful editing options, it's a must-have for any designer working with curved slot features.
The Multilingual feature lets you choose your preferred interface language — English, French, or German — for a smoother and more intuitive design experience. It removes language barriers, ensuring you can focus on creativity and precision. By supporting multiple languages, the application empowers designers, engineers, and architects across Europe to work comfortably and productively in their own language.
Go to the Preferences window and click on Localization. By default, it is set to the System Language.

Language dropdown in the Preferences window
Select the French language to display the French interface.

Selection of French language
Restart the application, and the interface will switch to French.

French Interface
Now select the German language to display the German interface.

Selection of German language
Restart the application, and the interface will switch to German.

German Interface
Language should never limit innovation. With the Multilingual functionality, this application bridges communication gaps and brings designers together through a shared design experience. Whether you prefer English, French, or German, you can work confidently, collaborate effectively, and stay focused on what truly matters — creating with precision and creativity.
One of the most powerful, yet least known tools in professional versions of TurboCAD is the Drafting Palette. The Drafting Palette is used for the creation of 2D construction and manufacturing documents from 3D designs, including ACIS® solids and 3D surfaces. It can be used in conjunction with both 3D Architectural and Mechanical designs. 3D Designs created or imported into TurboCAD’s Model Space are fully associative with the 2D views and construction drawings that the Drafting Palette creates in TurboCAD’s Layouts, even when working on an XRef. Dimensions are also fully associative. For Mechanical designs, both individual parts and assemblies can have any of 10 different standard views, 9 different preconfigured sectional views, as well as custom, detailed views chosen by a line or other closed arc or polyline. Recent versions of TurboCAD have also added the ability to add Layer Sets containing both visible and non-visible layers, and no scaling of Drafting Objects can be controlled by the Local (right click) menu. The Drafting Palette gives you great artistic control over how your views will work. Each drafting object placed on your Layout may be hatched, colored, or have its line weight and style adjusted as needed, with separate controls for visible and hidden line. In addition to standard cross-sectional views, fragmental views can be created and Drafting Breaks added.

The Drafting Palette works with over a dozen file formats and helps make TurboCAD Platinum, Professional and LTE Professional an excellent collaboration tool with other CAD applications. This includes Architectural formats such as .SKP (SketchUp) and .DGN (MicroStation/Intergraph) so the Drafting Palette can be used to create elevations, floorplans, sections, even detailed views, all of which are associative to changes in the model!

This feature streamlines the process of exporting individual components from complex assemblies, allowing users to save time and enhance overall workflow efficiency.
The Batch Tool includes an option to export each part in a model as a separate file. With a single command, users can automatically generate individual files for every part within an assembly or project, eliminating the need for repetitive manual export steps.
Go to the File menu and click on Batch. It will open the Batch Files window.

Batch Files window
Select the desired import file format to open, then choose the appropriate export options for the output format. Ensure that the One File Per Part option is enabled to export each part as an individual file. In the screenshot Native Format is selected for Import and DXF/DWG/PDF formats are selected for Export options.

Selection of Import/Export and Misc Options
A folder will open displaying the location of the desired import file. Select the file to proceed.

Import file selection window
The application will now process the selected file and export it into the chosen format, creating one file per part.

Process of exporting files
The files are exported to the selected location.

Exported files appear in the selected location
The Export One File Per Part provides a faster, more efficient way to manage and share parts from complex assemblies. By automating the export process, it reduces manual effort and streamlines workflows, helping users focus more on design and less on file management.
If you're looking to add more realism to your designs, the new Physically Based Rendering (PBR) texture packs are a great place to start. These downloadable packs include over 2,000 high-quality materials—wood, metal, glass, stone, fabric, and more—designed to simulate how real surfaces interact with light.
All software variants support downloading and using these textures. You can apply them to your projects regardless of which edition you're using. However, only LuxCore® fully supports the advanced rendering features that make PBR textures look their best.
LuxCore® is a rendering engine that uses Physically Based Rendering (PBR) technology to simulate how light interacts with real-world materials. This means surfaces like metal, glass, wood, and fabric can look more natural and detailed in your designs. If you're working with PBR texture packs, LuxCore® helps unlock their full potential—showing realistic reflections, surface depth, and transparency effects.
Note: LuxCore® is included by default in Punch!® 25 Home & Landscape Design Architectural Series, Punch!® 25 Home & Landscape Design Professional, and ARCHITECT 3D® 25 Ultimate. It is available as an optional plug-in for FloorPlan® Pro. Other editions do not include LuxCore® by default.
PBR (Physically Based Rendering) textures are designed to simulate how real-world materials interact with light, using multiple layered maps to create more natural and detailed surfaces. Each texture includes high-resolution (2K) maps for color, reflectivity, roughness, surface depth, and transparency—such as Diffuse/Color, Specular/Metalness, Roughness, Normal, Bump, and Alpha maps. These textures can be used in any version of the software, even with standard rendering, and will display correctly in your designs. However, only LuxCore® rendering fully supports the advanced PBR effects—such as realistic reflections, fine surface detail, and dynamic transparency—bringing out the full visual impact of these materials. If your edition includes LuxCore®, you’ll see the textures perform at their highest potential.
To get started, follow these steps:
Fill out the form with your name, email, order number, phone number, and select the material packs you want.
Free Home Design – PBR Material Packs Form
Double-click the file to start installation.
Wait for the installation to complete, then click Finish.
Switch to 3D View.
Click on the highlighted icon to open the materials library.
Select Materials from the list. If a Material is already selected, you can proceed.
Once a Material is chosen, Backgrounds and Sky will appear below.
Click on Backgrounds and Sky to expand the section. A new panel will open on the left side of the screen.
You’ll now see a list of all installed PBR Packs—ready to use in your design.
Installed PBR Packs List
These texture packs are a great way to add realism and variety to your designs. Whether you're working on interiors, landscapes, or commercial spaces, they offer more control and flexibility—especially when paired with LuxCore® rendering.
This new FloorPlan® PowerTool adds over 90 professional CAD tools to FloorPlan® Home & Landscape Design. Its diverse feature set, consisting of 2D drafting, 3D modeling, editing, and data sharing tools allows the user to create virtually any object to complement their home design project. Objects created can be saved to your library and used with any of your home and landscape designs. Custom Workshop Pro can bring in popular CAD file formats such as SketchUp®, 3D Studio®, 3MF, STL, DAE, PLY, as well as Adobe® Illustrator®, PDF, SVG, TIFF, BMP, PNG, and JPG. Some of the features included in Custom Workshop Pro:

Some of the features included in Custom Workshop Pro:
2D Drafting Features:
· Line Tools (8 methods)
· Arc Tools (5 methods)
· Circle Tools (7 methods)
· Ellipse Tools (5 methods)
· Polygon Tools (7 methods)
· Bezier Spline Tool Fillet/Chamfer (5 methods)
· Spline Fill
3D Modeling Features:
· Primitives (6 types)
· Extrude, Lathe, Skin, Cover
· Booleans (Add, Subtract, Intersect)
· Subdivision (Add Loop, Fill, Bridge, Inset)
· Split & Slice
Modification and Editing:
· Align, Group, Ungroup, Copy, Paste
· Transformations (Translate, rotate, scale, mirror, along the path)
· Arrays (Polar and Rectangular)
· Magnet Tool
Data Sharing:
DWG/DXF, SketchUp®, 3D Studio®, 3MF, STL, DAE, Ply Adobe® Illustrator®, PDF, SVG, TIFF, BMP, PNG, JPG
The redesigned Custom Tool Palette makes organizing your favorite tools faster and easier. With support for larger m × n icon arrays, you can create flexible layouts like 3 × 20 or 10 × 10 to match your workflow. The new, intuitive interface adapts to your working style helping you find tools quickly and keep your workspace efficient.

Redesigned Custom Tool Palettes
Go to the Tools menu, select Custom Tools and then choose the New Palette option.

Custom Tools Window
Set the desired Name, Columns, Rows and Icon Size for the palette. It will create a new palette based on the values you enter.

Newly created empty Custom Tool Palette
Drag and drop the desired tools from the existing palettes into the newly created palette. Use Right-click to drag and drop the tools into the newly created palette.

Newly created Custom Tool Palette with new tools
Right click on the title bar of the palette to open a pop-up window that includes the Edit Custom Tool option.

Edit Custom Tool option
Clicking the Edit Custom Tool option opens the Custom Tool window, where you can edit the palette.

Custom Tools window
After setting the Rows value to 7, the palette adds two more rows.

Edited Custom Tool Palette
The redesigned Custom Tool Palette gives you more control over how you organize and access your favorite tools. With flexible layouts, easy customization, and an improved editing interface, it adapts to your workflow, helping you design faster and stay focused on creativity instead of searching for tools.
In the world of computer-aided design (CAD), choosing the right software can significantly impact your productivity, creativity, and budget. While AutoCAD has long been a standard in the industry, TurboCAD emerges as a compelling alternative, offering exceptional value and a suite of advanced features. Let's delve into why TurboCAD is worth considering over AutoCAD, especially for those seeking a cost-effective yet powerful CAD solution.
A standout advantage of TurboCAD is its pricing structure. Starting at just $69, TurboCAD provides an array of options catering to different budgets and needs. This competitive pricing is a significant draw, especially for independent designers, small businesses, or anyone looking to minimize software costs without compromising on functionality.
In an era where subscription models are becoming the norm, TurboCAD offers a refreshing alternative with its perpetual license option. This means you can own the software outright, a boon for those who prefer a one-time investment over recurring subscription fees, as is the case with AutoCAD.
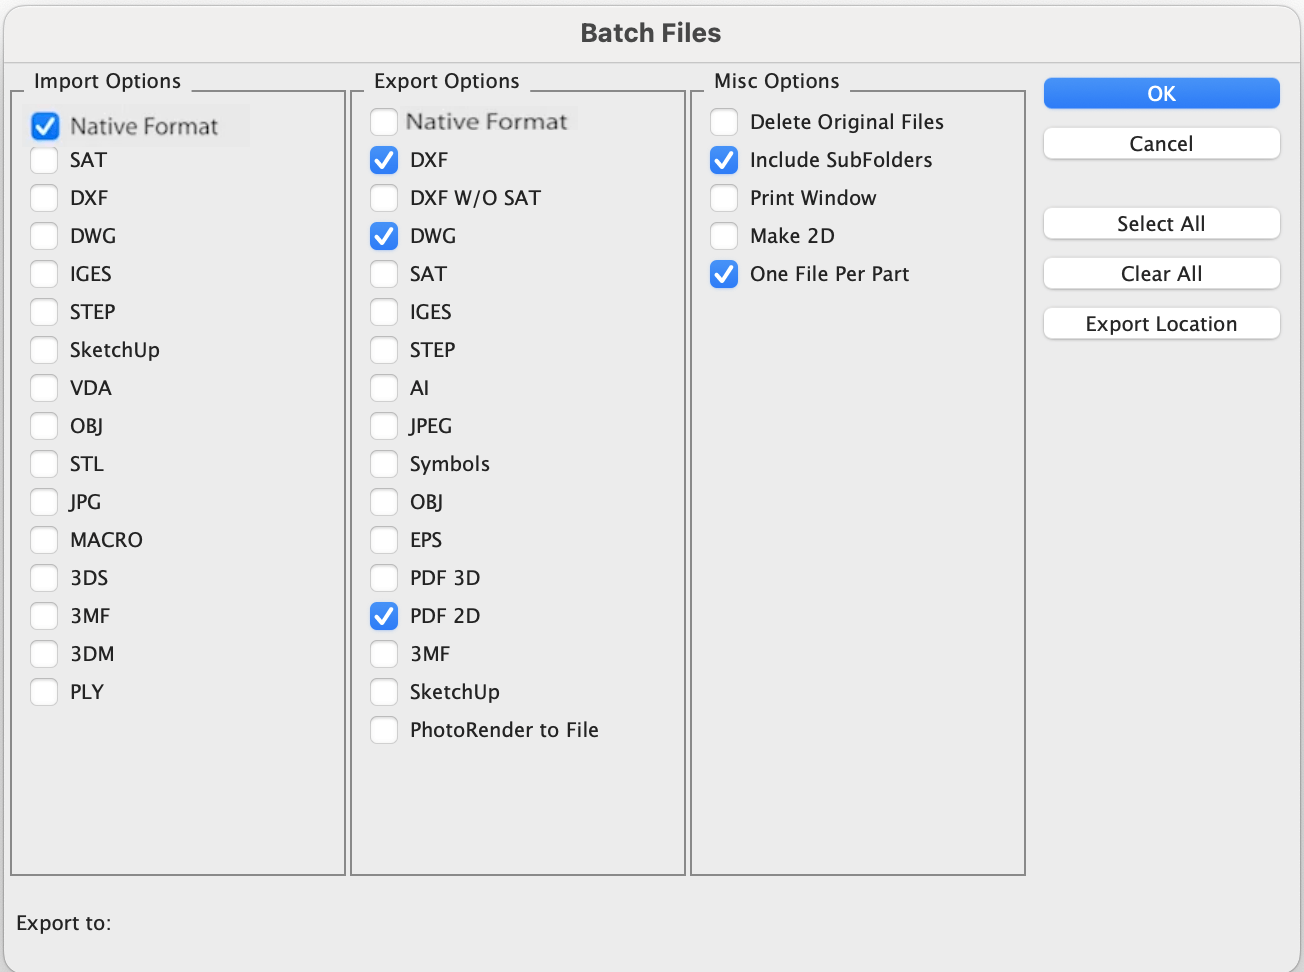
TurboCAD's status as a founding member of OpenDWG underscores its commitment to DWG compatibility. This is crucial fo
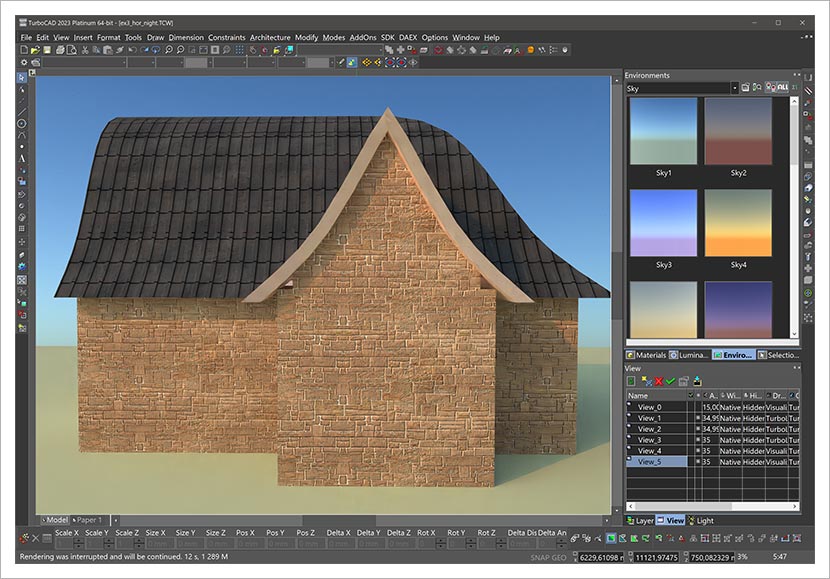
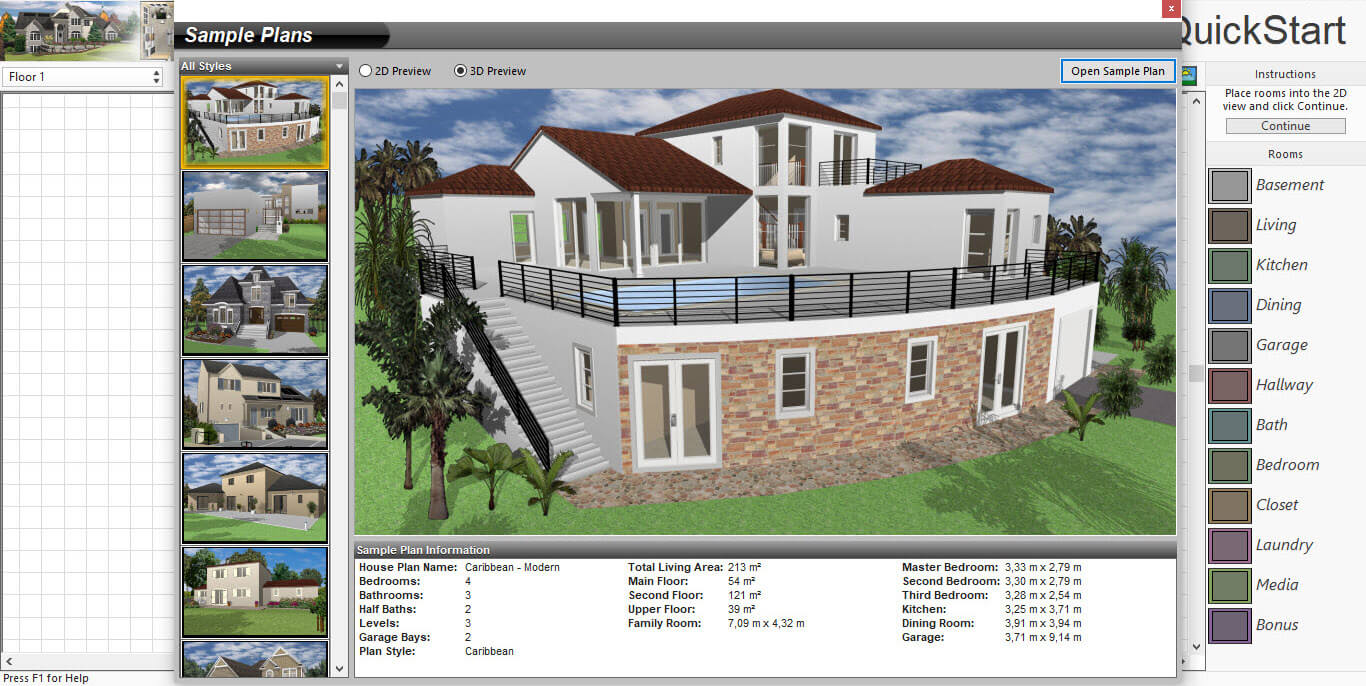
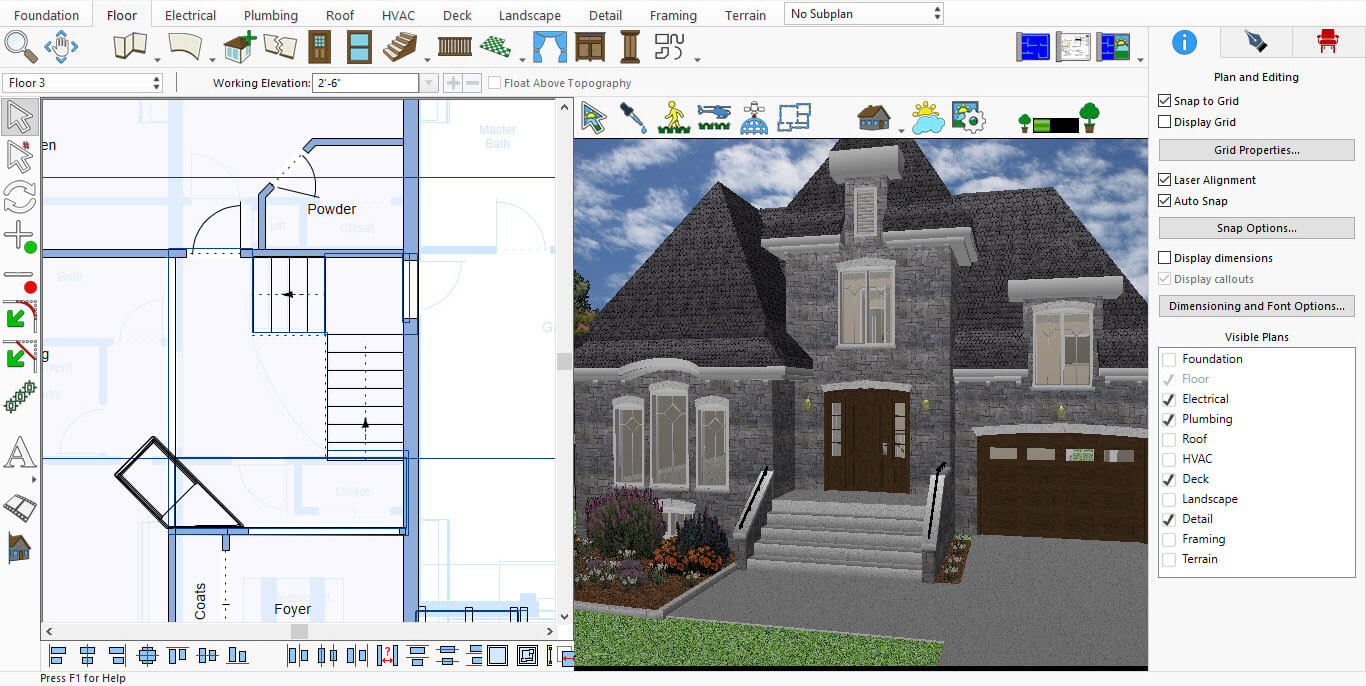
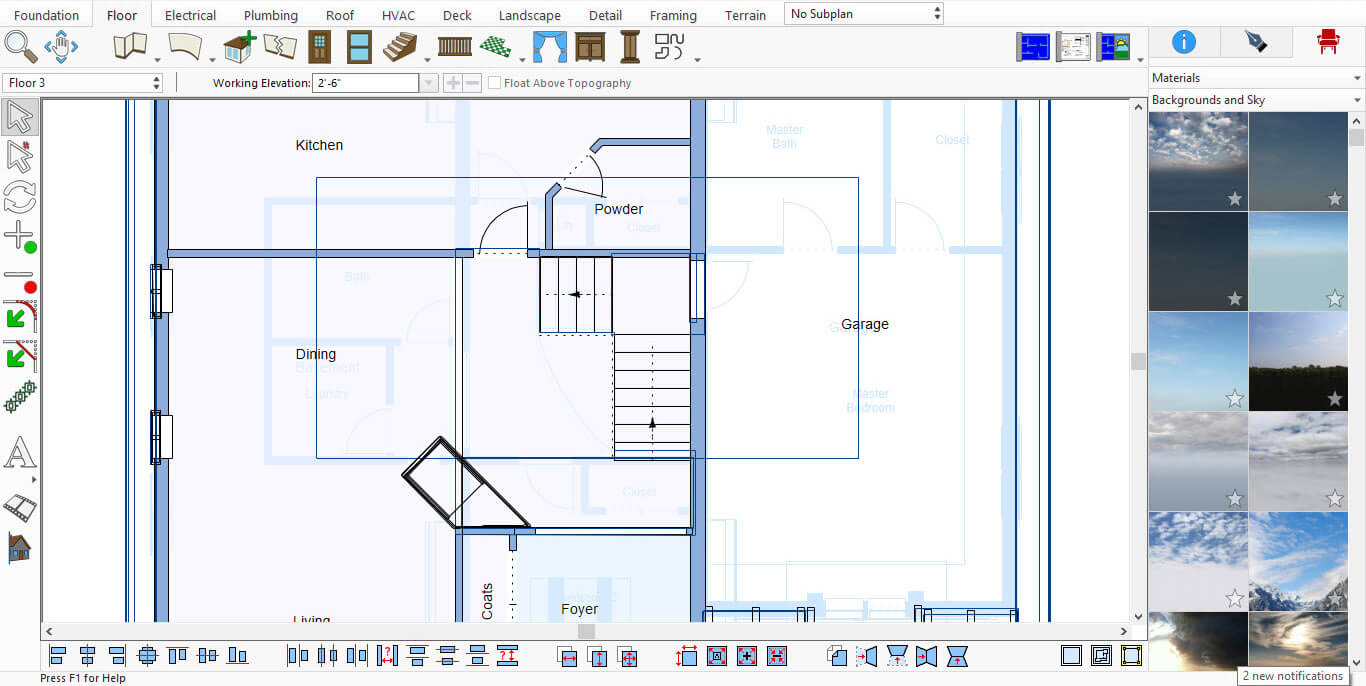
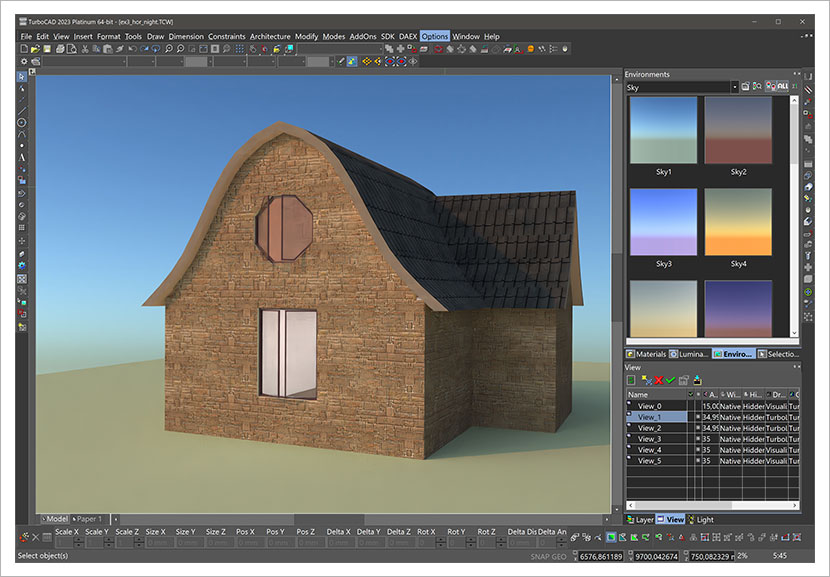
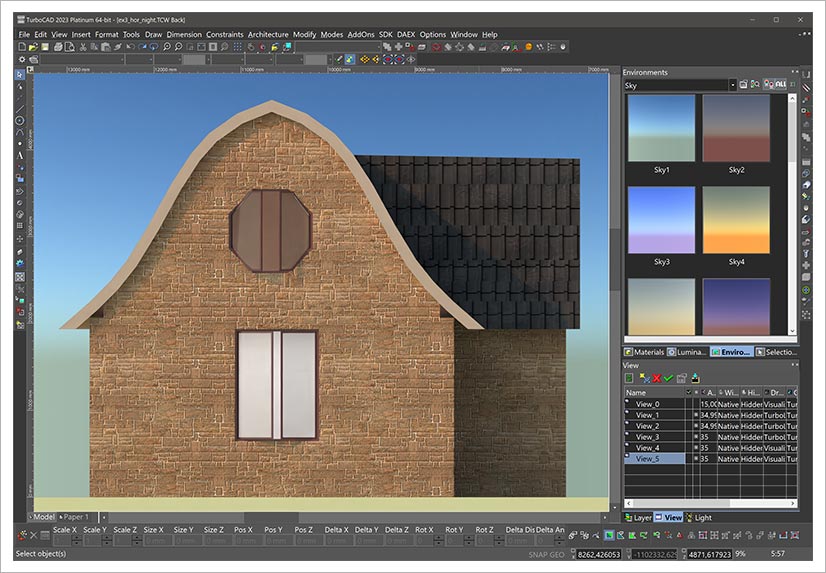
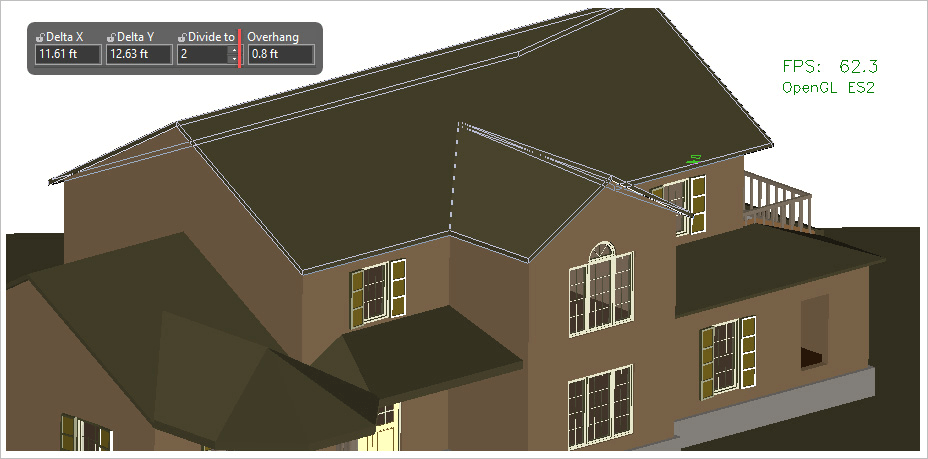
TurboCAD shines in architectural drafting with tools specifically designed for this purpose. Unlike AutoCAD, which offers basic multi-lines for walls and dynamic blocks for doors and windows, TurboCAD goes further. It includes smart objects for creating and editing walls, adding window and door openings, and designing roofs. These tools automate tedious tasks like cleaning up intersections and orienting symbols, streamlining the architectural design process.
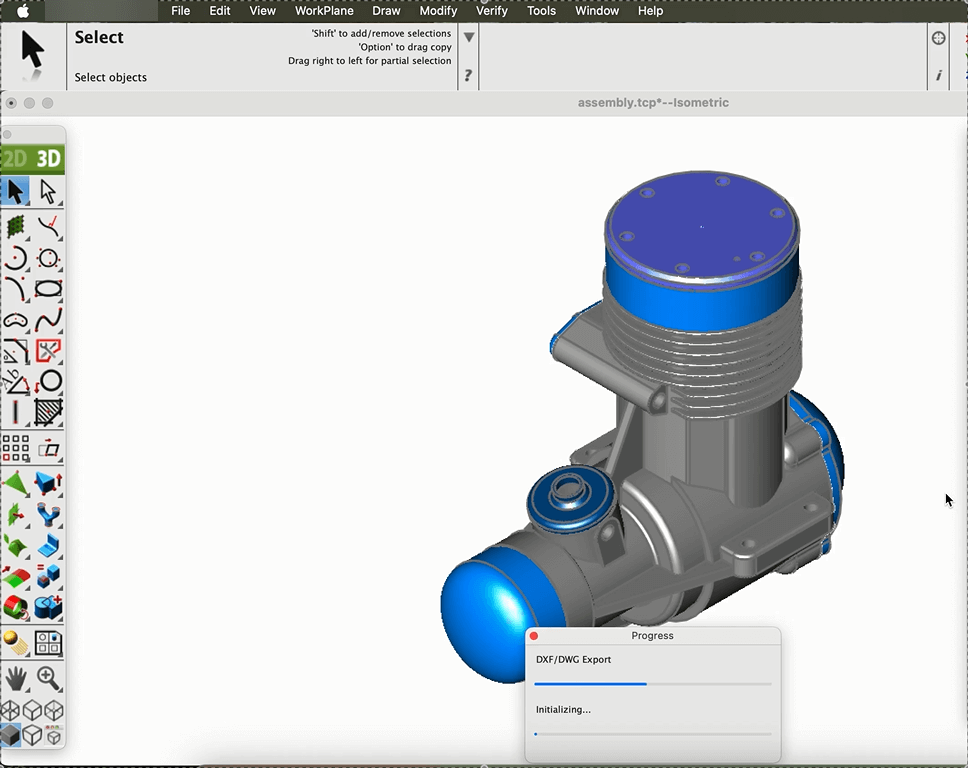


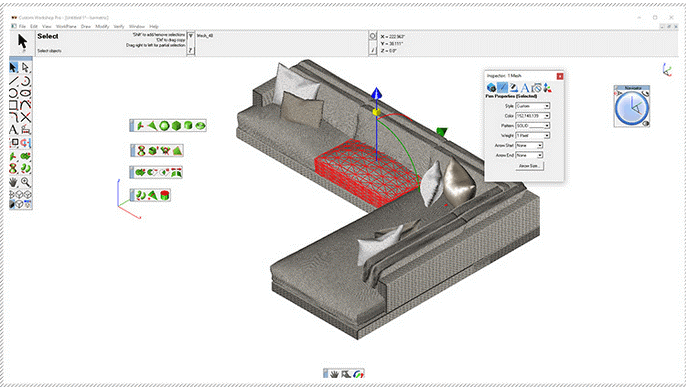
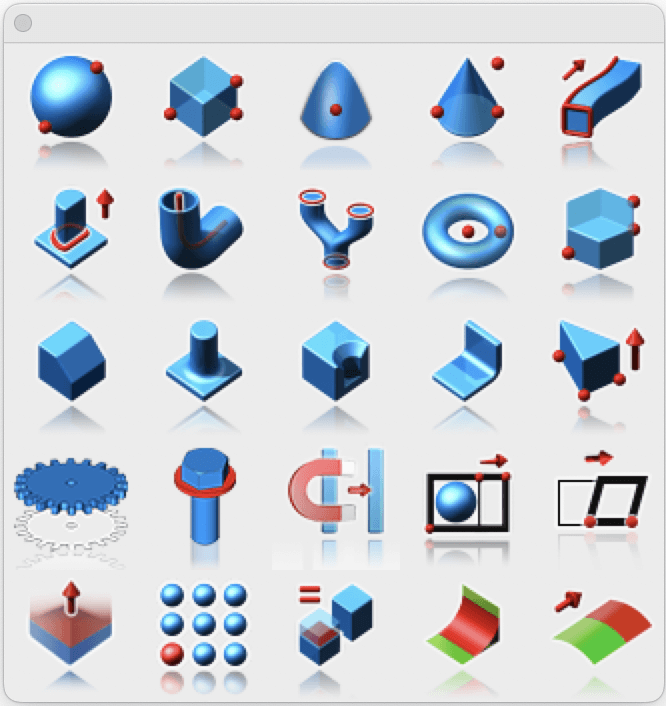
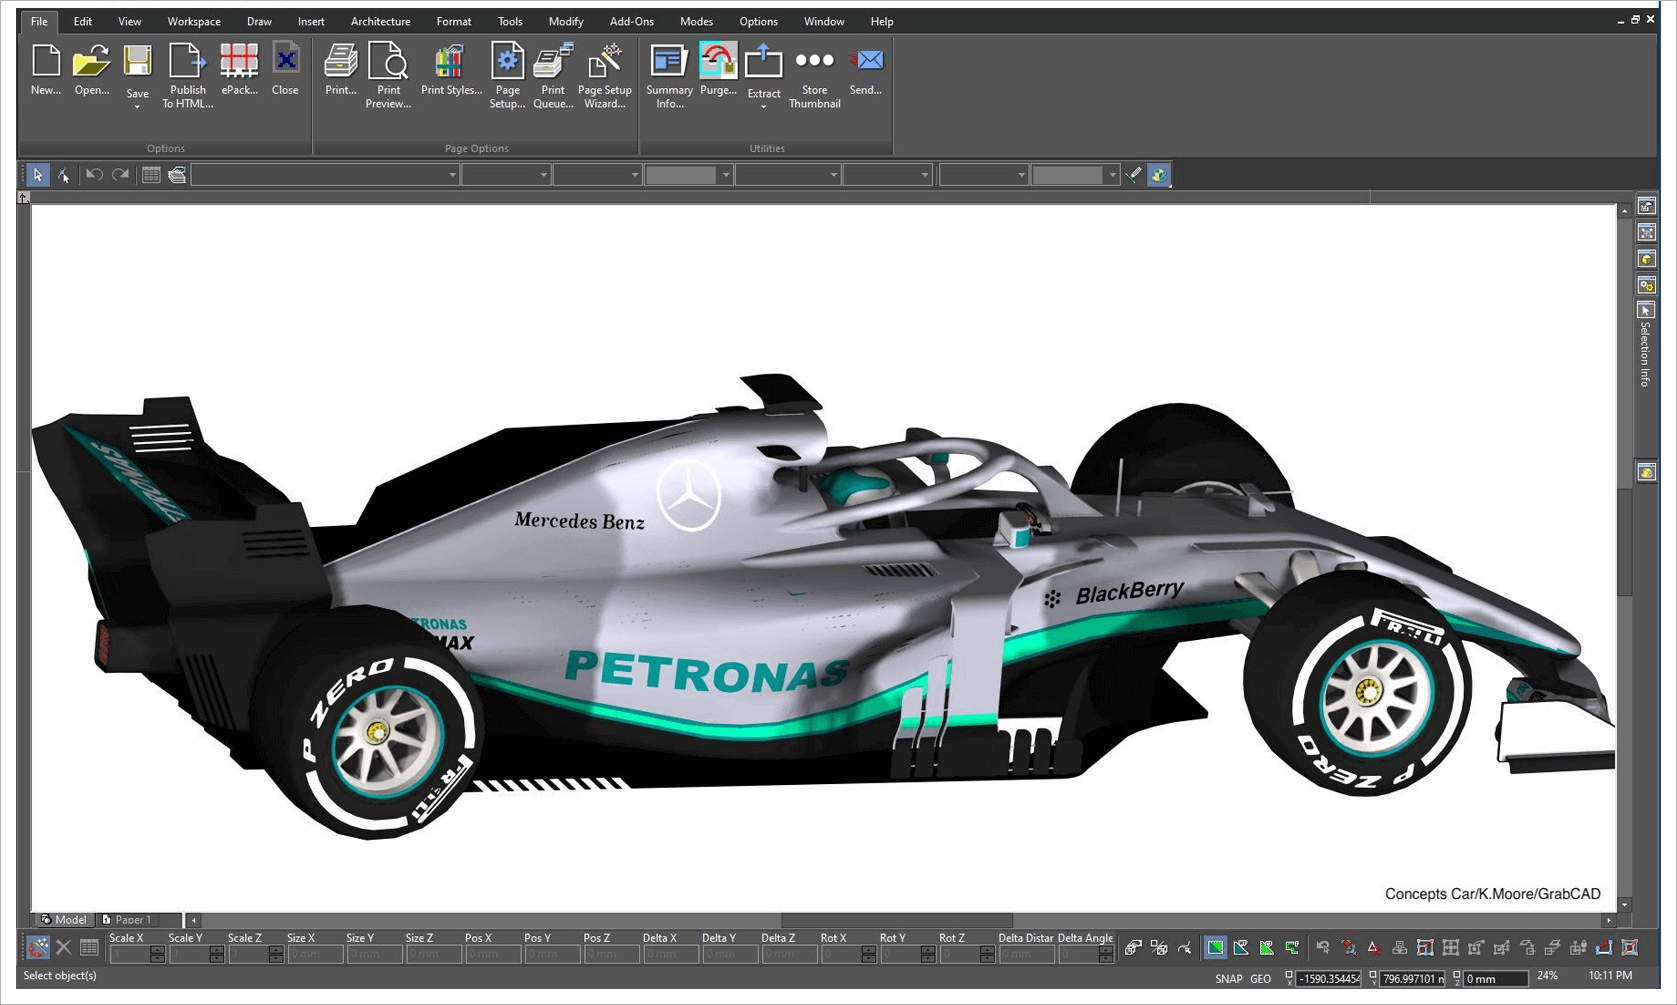
In the realm of mechanical design, TurboCAD again outpaces AutoCAD by offering a more extensive suite of tools for both 2D and 3D modeling. This includes the Parts Tree palette for editable history trees of 3D operations, allowing for intricate changes to chamfers, fillets, Boolean operations, and more. The ability to deform facets of solid models adds another layer of sophistication to your mechanical design projects.
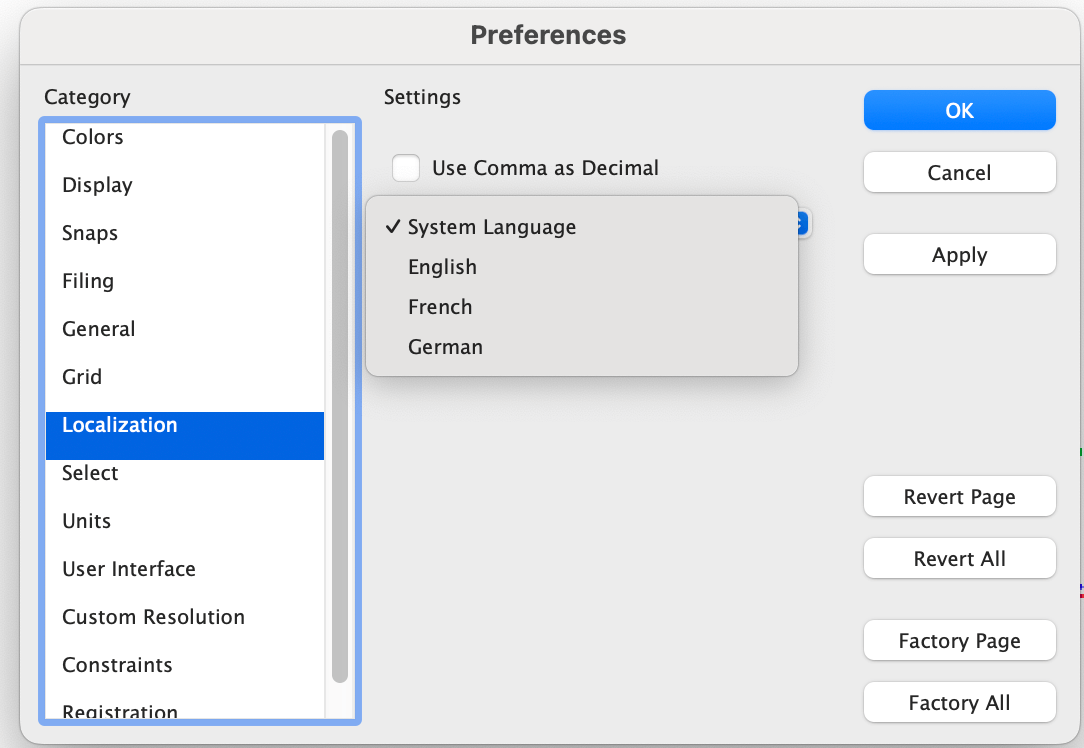
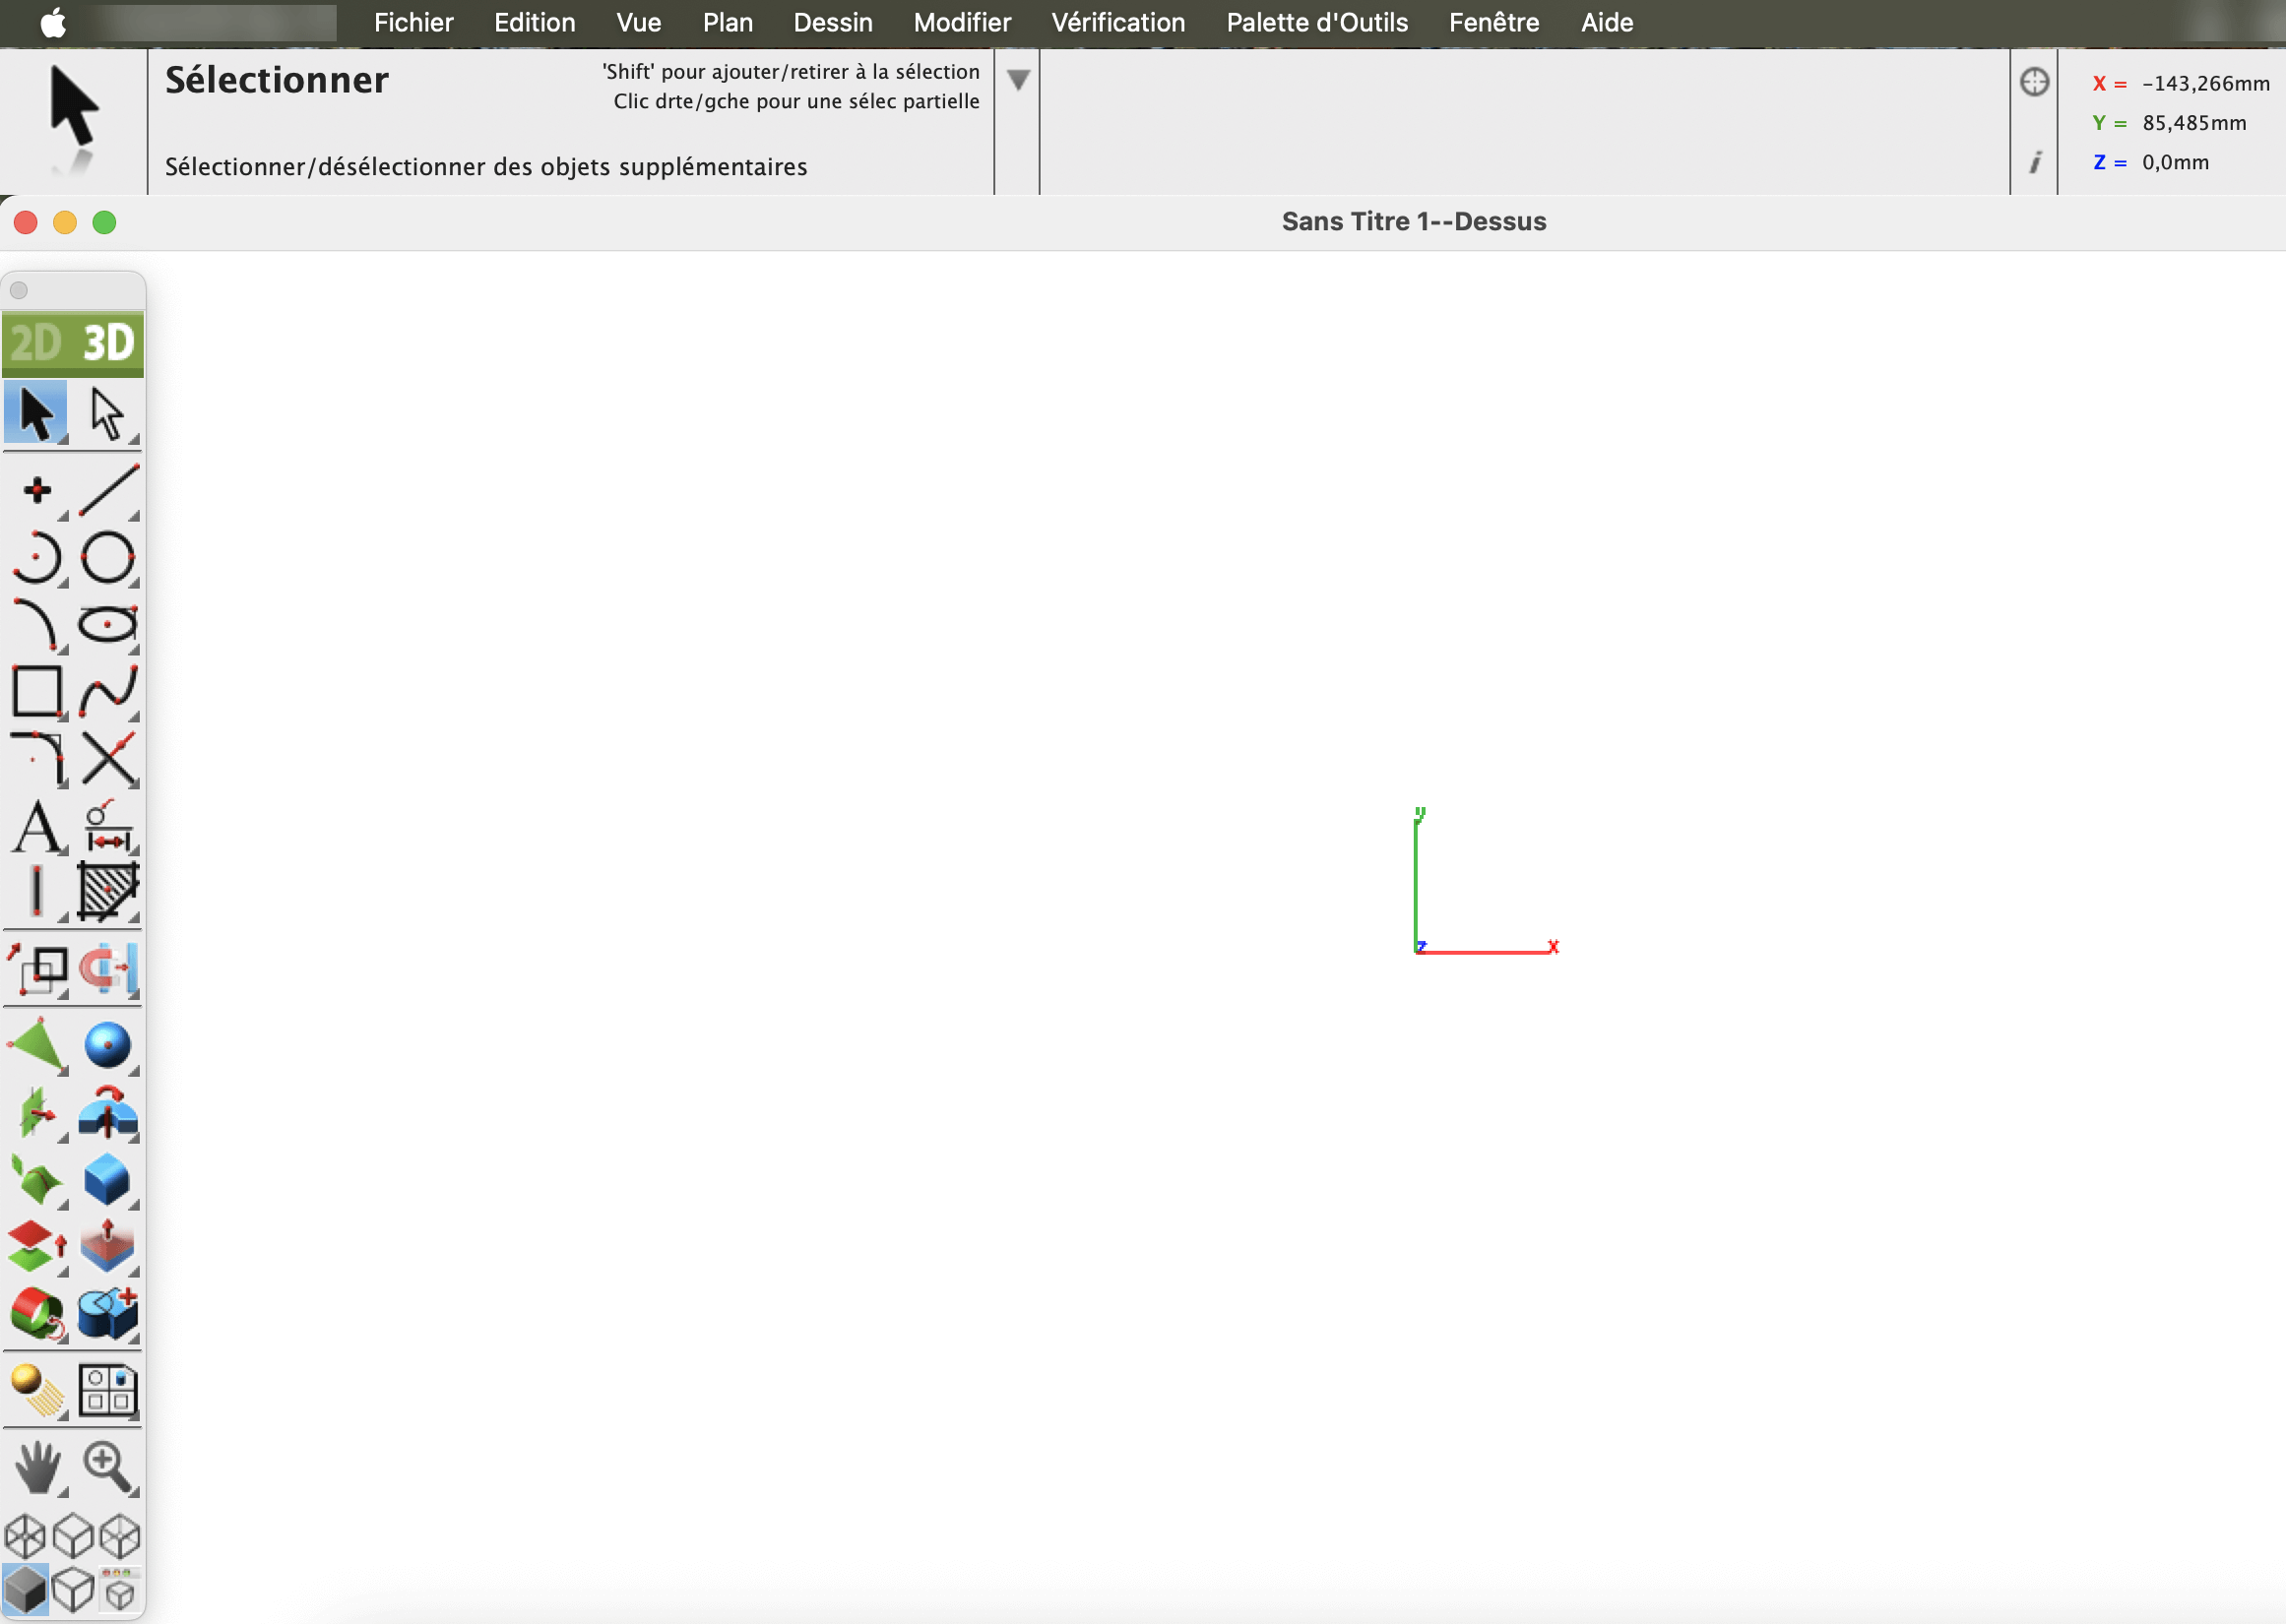
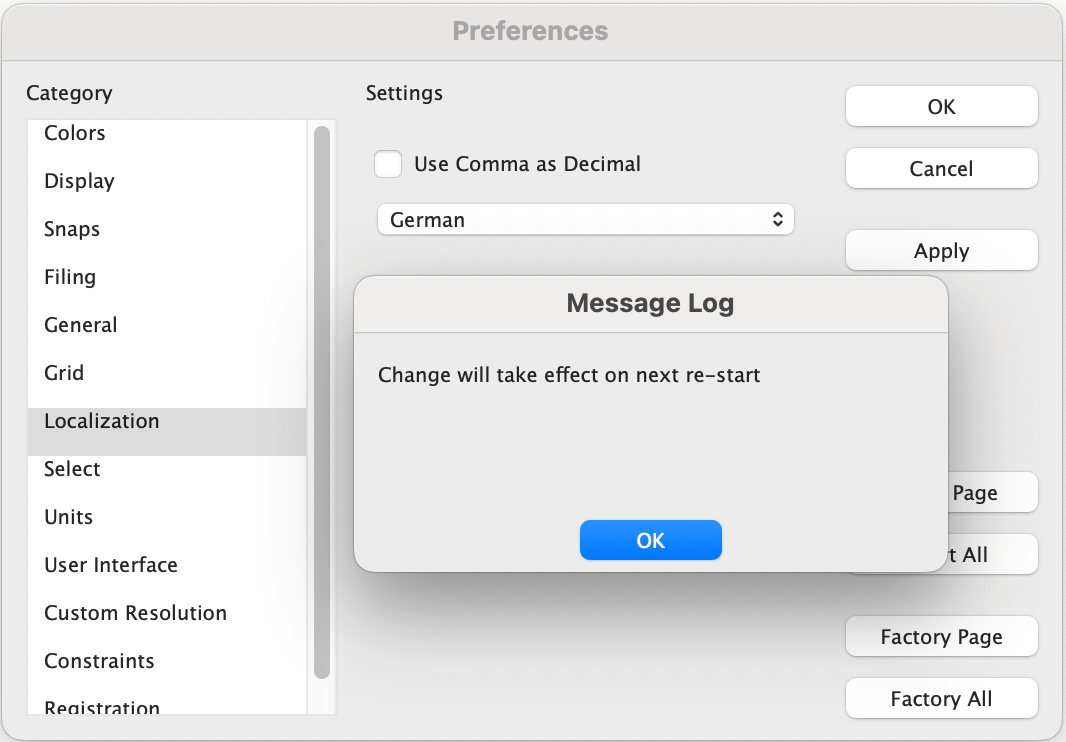
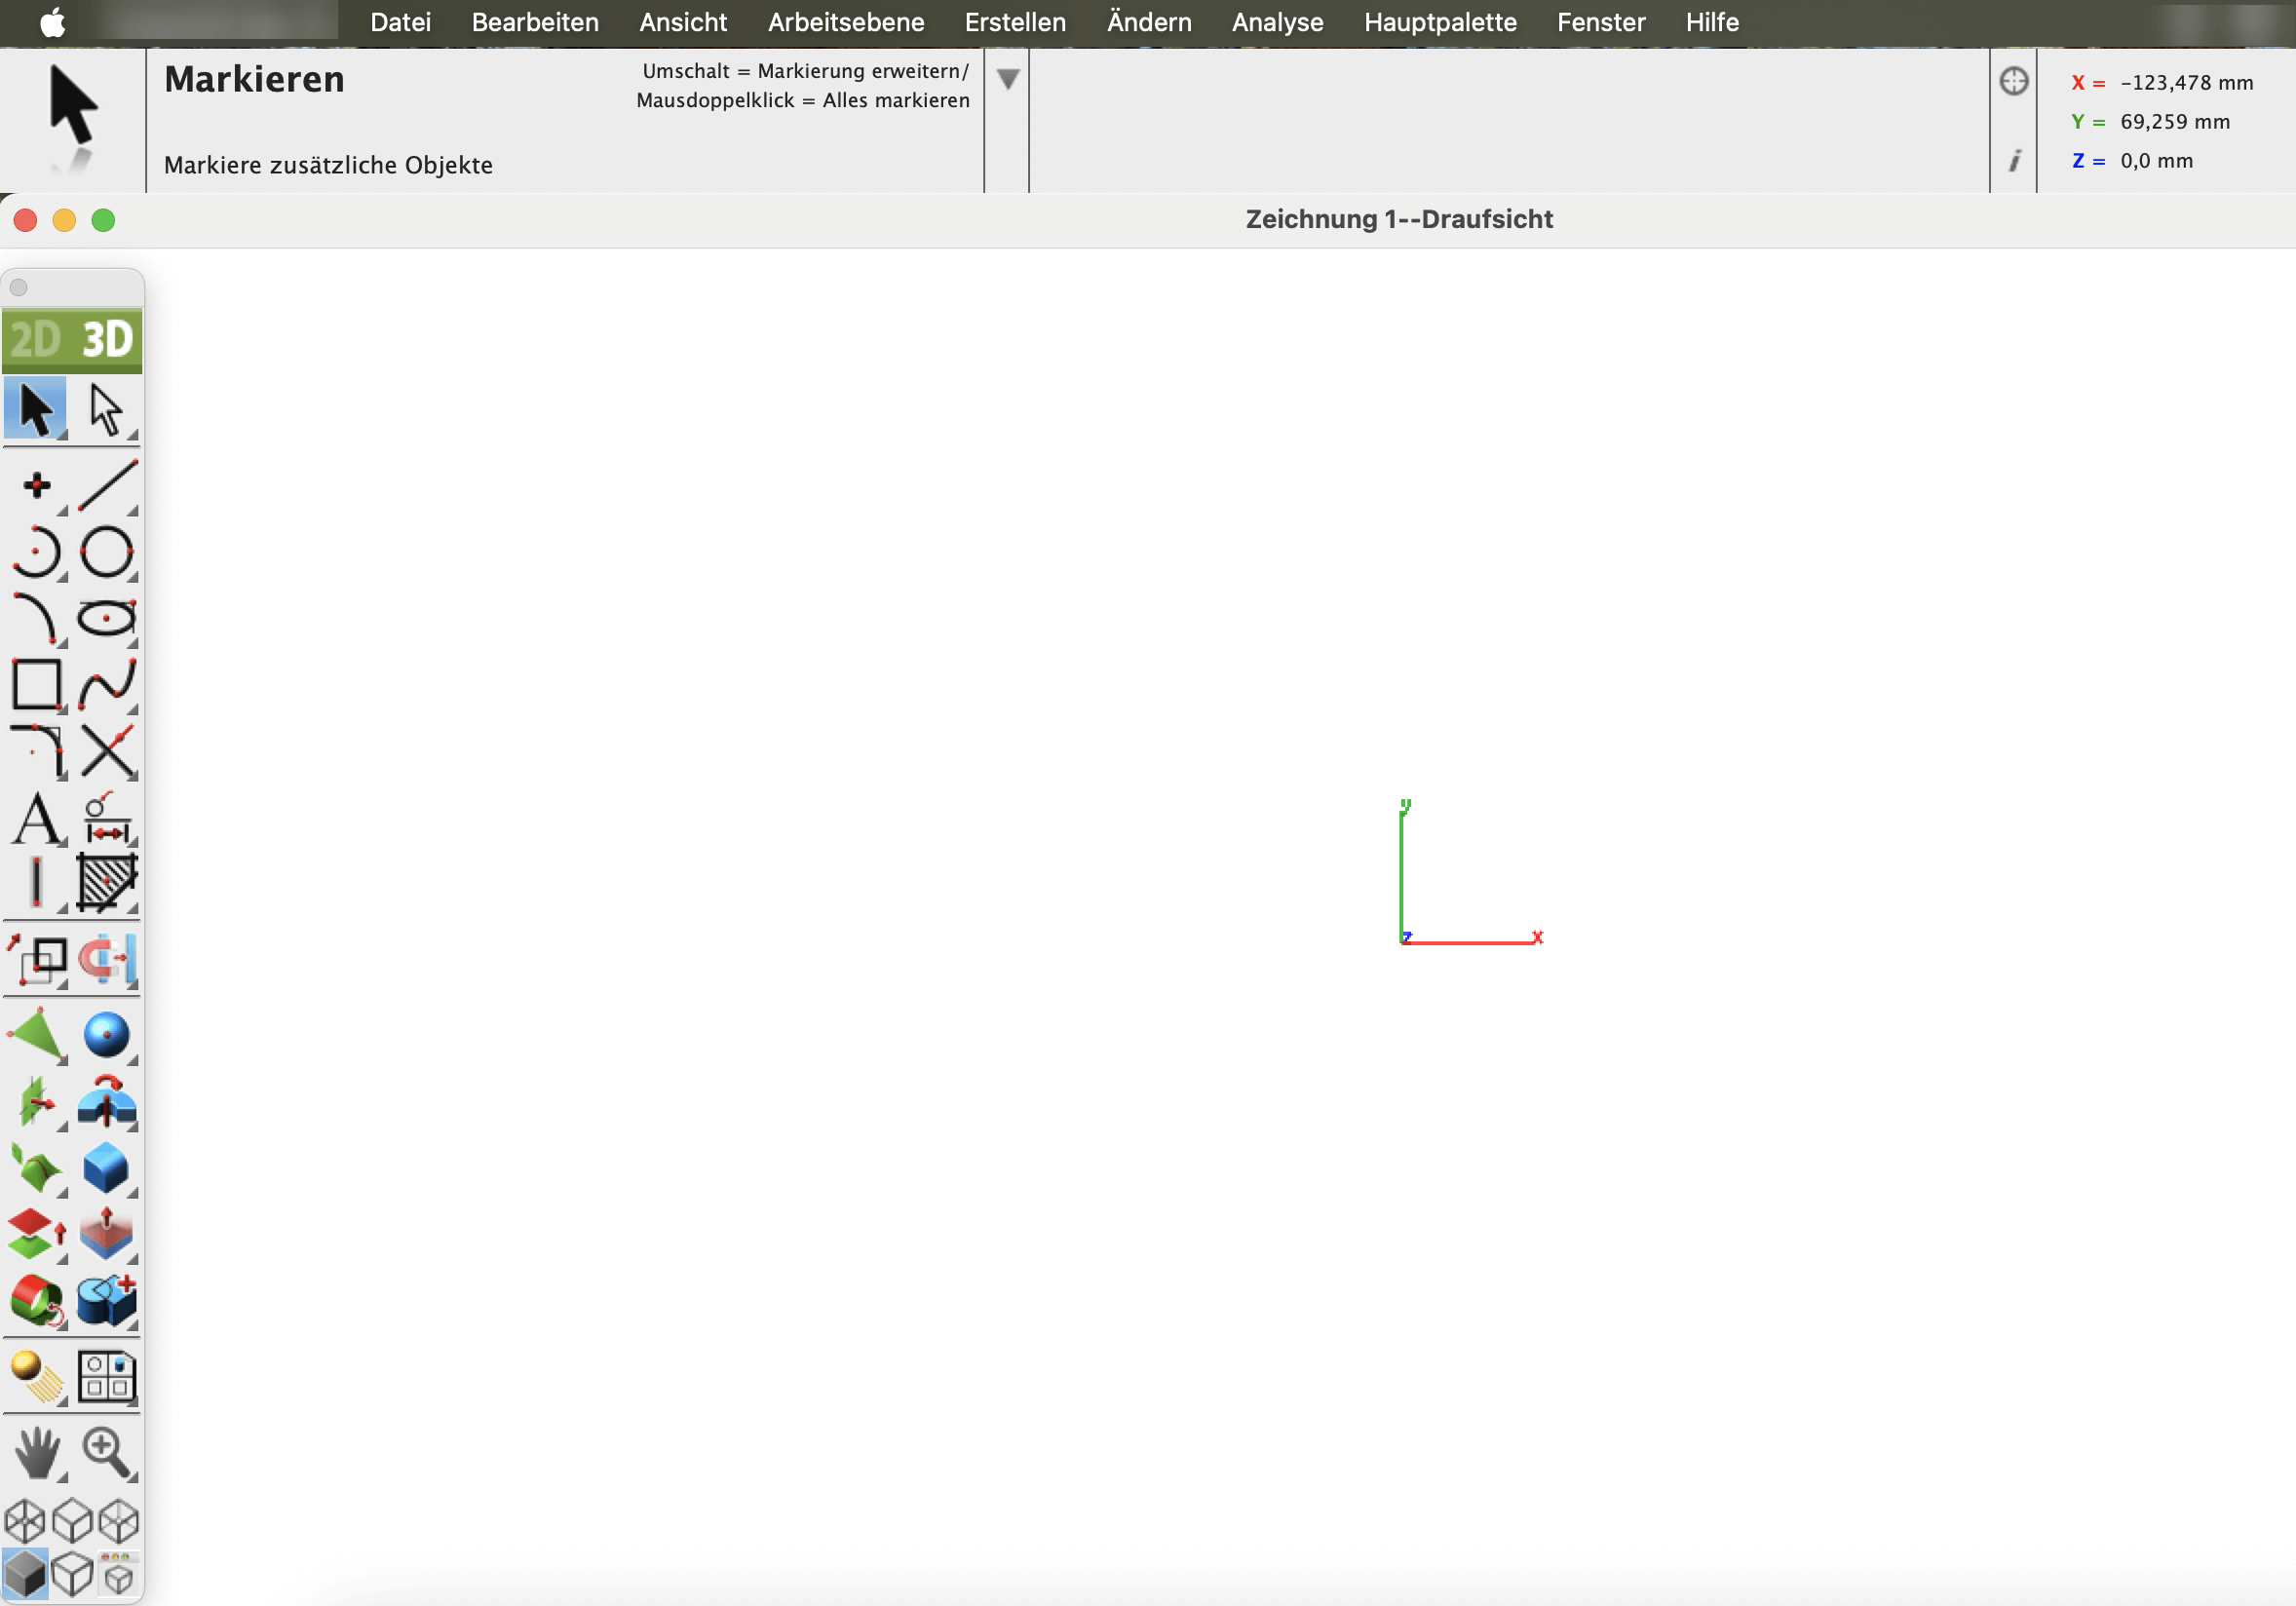
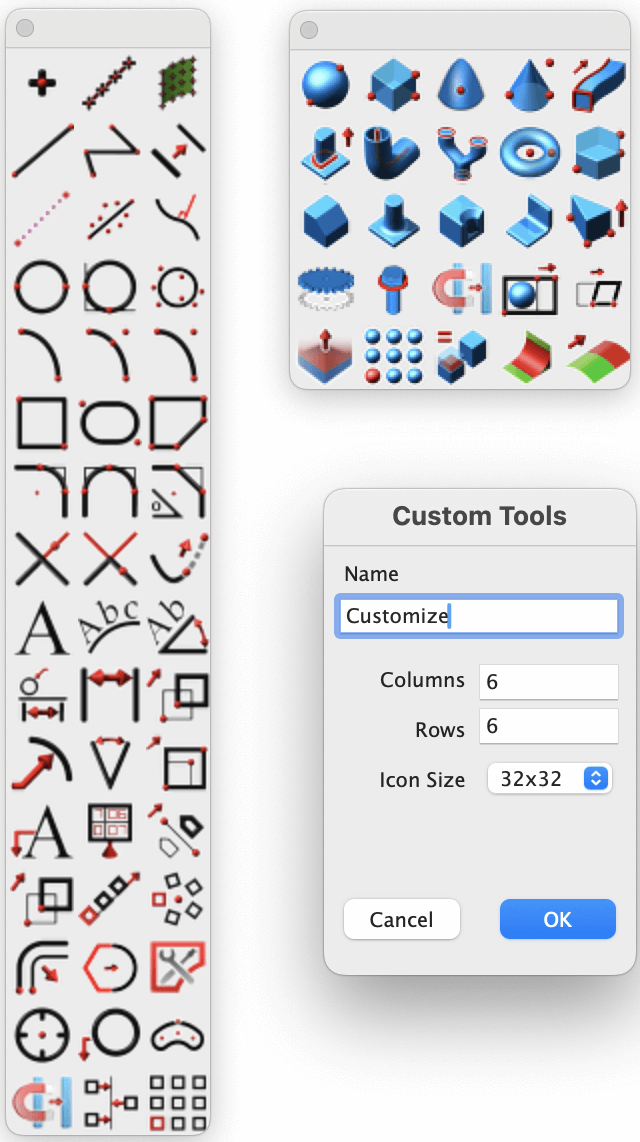
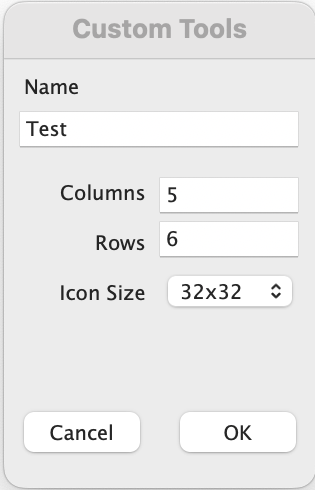
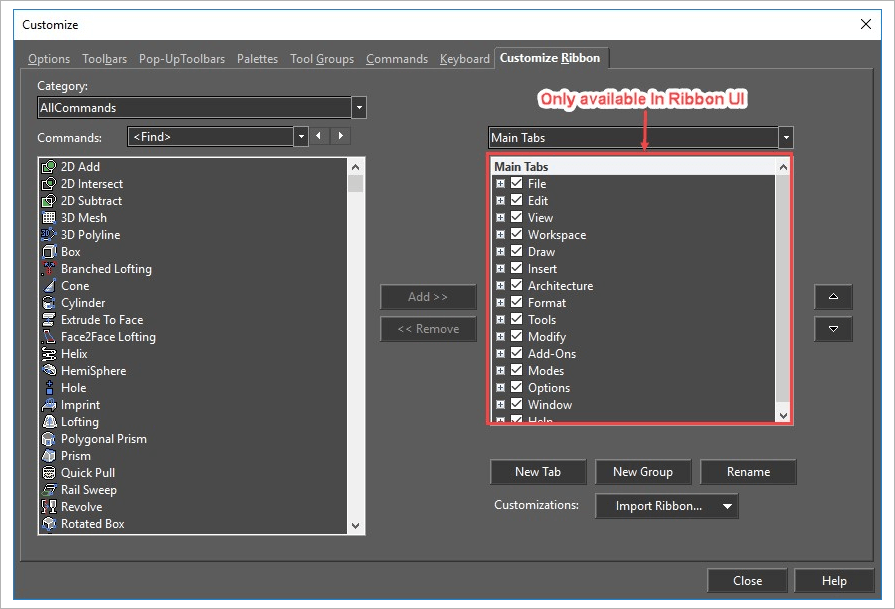
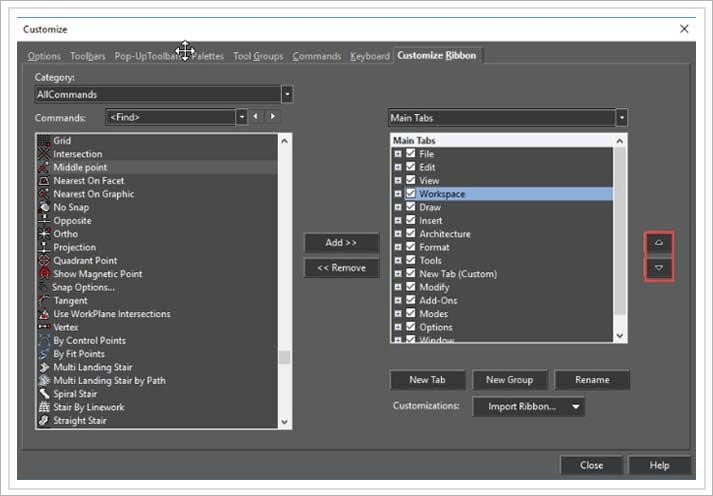
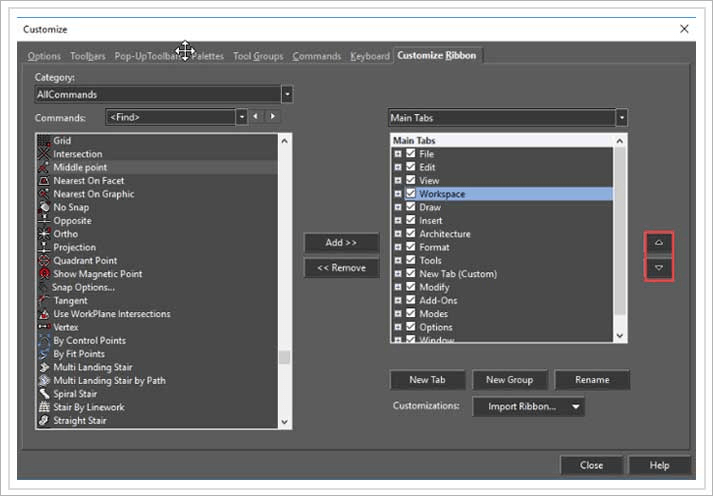
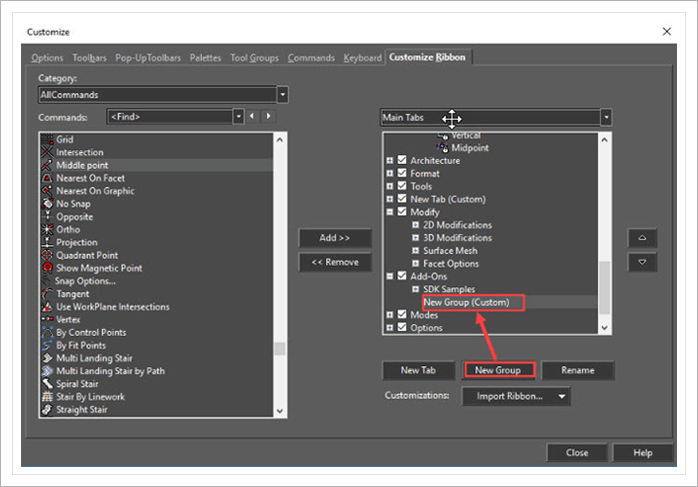
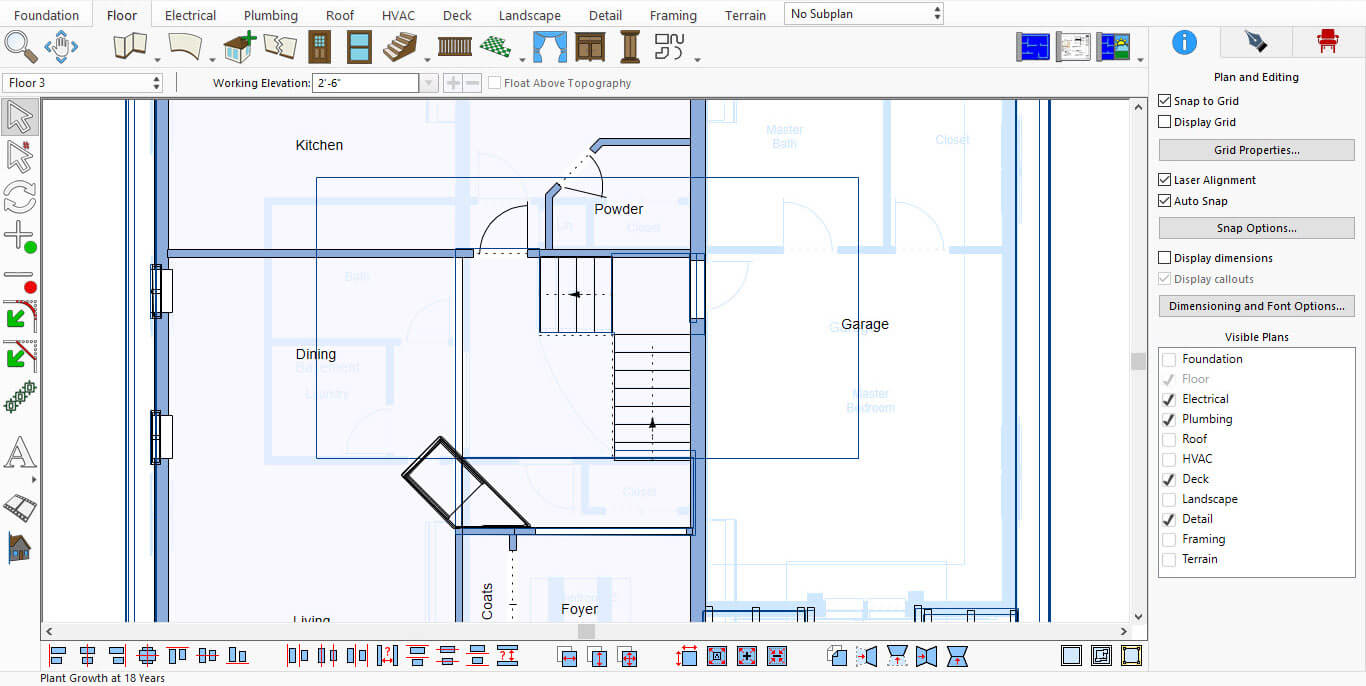
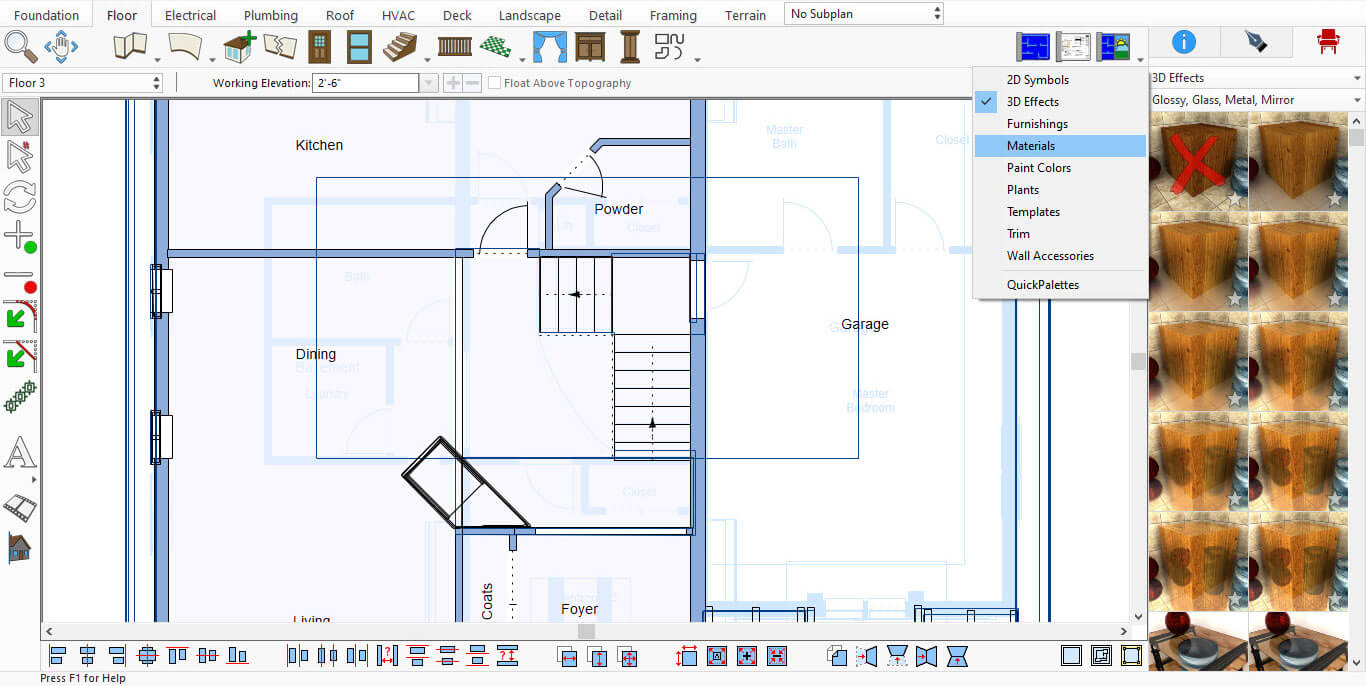
Transitioning to a new CAD platform can be challenging, but TurboCAD eases this with its customizable user interface. It mirrors many elements of AutoCAD's interface, making the switch smoother for AutoCAD users. The familiar layout of menus, toolbars, and scroll bars reduces the learning curve, ensuring a comfortable and efficient adaptation to TurboCAD's environment.


One of the most user-friendly features of TurboCAD is the availability of free trials for its software. This is a fantastic opportunity for users to explore and experience the full range of TurboCAD's capabilities without any initial investment. The free trial period allows you to delve into the software's advanced tools, test its compatibility with your projects, and evaluate its user interface to see how it fits into your workflow. This risk-free exploration is especially beneficial for those who are considering transitioning from AutoCAD to TurboCAD, as it provides a practical, hands-on comparison to inform your decision. Remember, the word "free" isn't just a buzzword; it's an invitation to experience the power of TurboCAD and understand why it's a cost-effective and feature-rich alternative to AutoCAD.
Trials are available at : TurboCAD FREE Trials
TurboCAD presents itself as an incredibly viable alternative to AutoCAD, especially when considering its affordability, diverse feature set, and user-friendly interface. With options suitable for various professional needs, from architectural to mechanical design, and a pricing model that offers exceptional value, TurboCAD stands out as a smart choice for CAD professionals and enthusiasts alike.
Are you thinking about using TurboCAD with AutoCAD or switching from AutoCAD to TurboCAD?
We’ve created a resource to provide you with the information you need to shorten your learning curve and start creating professional designs in no time at all. Once you’ve made the decision to use TurboCAD, this guide will help you get started by outlining the few differences in jargon, commands, and tools.
Here is just some of the information you’ll find:
TurboCAD offers the AutoCAD user
The few differences and how they are resolved between TurboCAD and AutoCAD
What you will love about TurboCAD!
Download TurboCAD for AutoCAD Users now to learn more about why it’s easy to switch between TurboCAD and AutoCAD.
IMSI Design is a maker of CAD (Computer-Aided Design) and home design software for Windows and Mac, as well as mobile solutions for the AEC (Architectural, Engineering, and Construction) industry.

Founded in 1983, IMSI is a leader in feature-rich, yet affordable, general-purpose CAD (Computer Aided Design) and home design desktop software, and a pioneer in mobile solutions for the AEC (Architectural, Engineering, and Construction) industry.